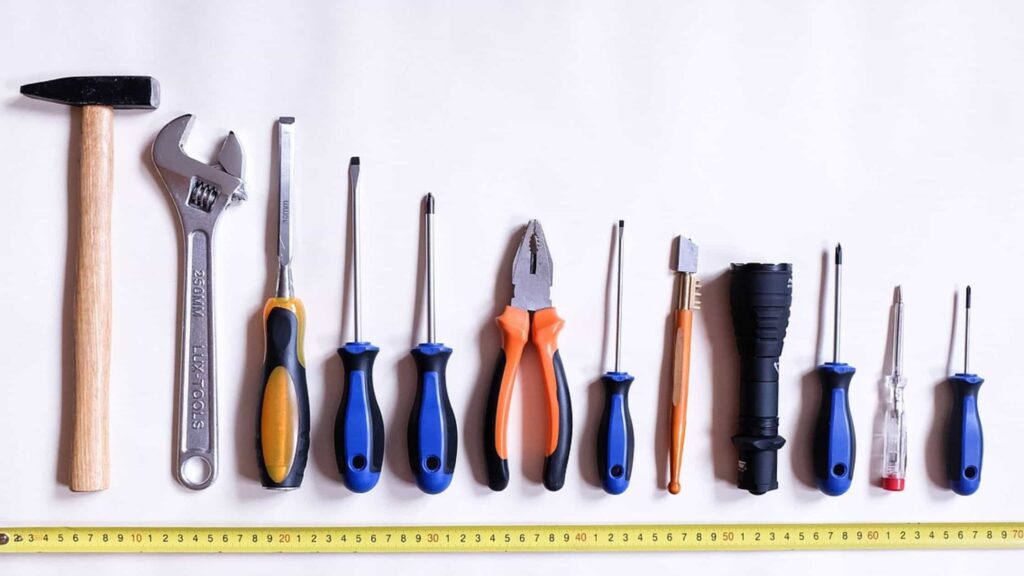
Ever found yourself holding a broken tool and wondering, “Can I fix this myself?” Well, you’re not alone! Welding can seem like a job for professionals, but with the right tools and knowledge, you can do it by yourself.
Whether it’s a cracked hammer handle or a snapped wrench, knowing how to weld can save you both time and money.
Can I Weld a Broken Tool Myself?
You can weld a broken tool yourself If it’s made from steel or aluminium and you have the proper equipment. However, some tools, specifically those made from hardened steel are better to replace.
In this guide, we’ll dive into everything you need to know about welding broken tools. From the basic equipment, you’ll need to how to safely and effectively repair your favourite tools, Everything is covered in this.
Table of Contents
Is It Safe to Weld Tools at Home?
Welding at home is a useful skill, especially when repairing broken tools, but it’s important to understand the potential risks involved.
Basic Safety Precautions You Should Follow When Welding
Before you start, there are several safety measures to follow:
- Ventilation: Ensure your workspace is well-ventilated to avoid inhaling harmful gases.
- Fire Safety: Keep a fire extinguisher nearby and remove any flammable materials from the area.
- Electrical Safety: Always check that your welding equipment is properly grounded to prevent electric shock.
- Workspace Setup: Make sure your welding station is sturdy, with tools and materials organized to avoid accidents. A cluttered space can lead to mistakes.
Welding at home is perfectly safe if you respect these precautions.
What Tools and Equipment Do I Need for DIY Welding?

Before you dive into welding your broken tools, it’s essential to have the right tools and equipment.
Essential Welding Equipment for Beginners
Welding Machine: Your welding machine is the heart of your setup. For beginners, a MIG welder (Metal Inert Gas) is often the best choice. It’s easy to use and effective for many home projects.
Can I Teach Myself to Weld?– Learn welding in your home.
Filler Rods or Wire: Depending on the type of welding you’re doing, you’ll need filler rods or wire to join the broken pieces of your tool. For example, MIG welders use a continuous wire feed, while TIG welders require filler rods.
Choosing the Right Welding Method (MIG, TIG, Arc) Based on the Material
The type of welding method you choose depends especially on the metal you’re working with:
- MIG Welding: Ideal for beginners and versatile for most metals like steel and aluminium.
- TIG Welding: Provides more control and cleaner welds, perfect for precise work and thinner materials.
- Arc Welding (Stick Welding): Great for heavy-duty repairs and thick materials, though it can be a bit messier and more challenging for beginners to master.
Understanding the strengths of each method will help you pick the best option for the tool you’re repairing.
Additional Tools Like Clamps, Grinders, and Cleaning Supplies
- Clamps: Holding your workpiece steady is critical for accuracy. Clamps will secure the tool you’re welding so that it stays in place throughout the process.
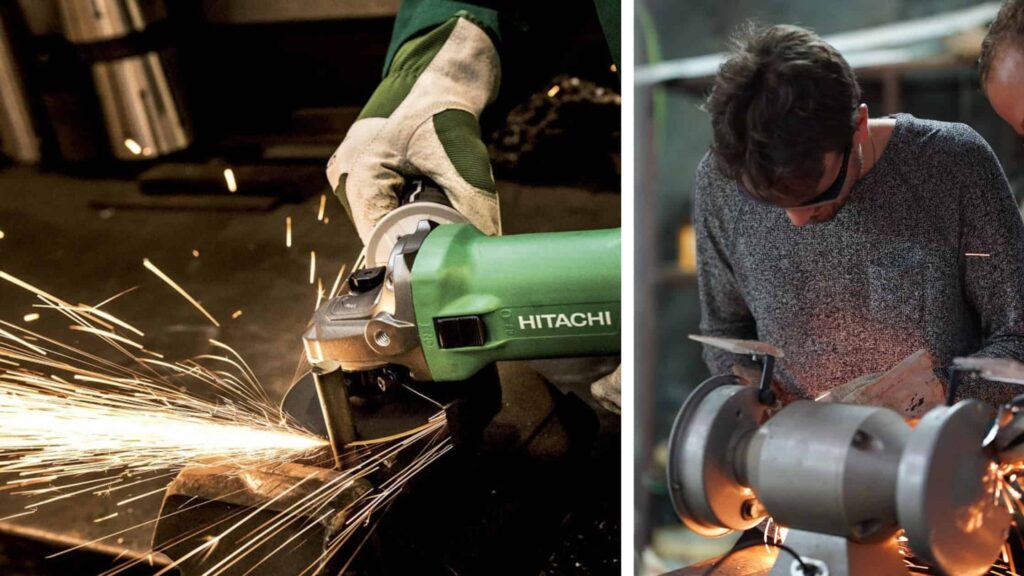
- Grinders: Once the welding is done, you’ll need a grinder to smooth out rough edges and clean up your welds. A handheld angle grinder is perfect for this task.
- Cleaning Supplies: Clean surfaces make for better welds. Use a wire brush or sandpaper to remove rust, paint, or dirt from the tool before starting the welding process.
Where to Source Affordable DIY Welding Tools
For those starting, it’s important not to overspend on equipment. You can find affordable DIY welding tools at local hardware stores, online platforms like Amazon, or even second-hand stores. Many brands offer affordable entry-level machines that provide the necessary functionality without being too expensive.
Just ensure you’re buying from reputed brands with good reviews to avoid poor-quality equipment.
Step-by-Step Guide to Welding a Broken Tool
Step 1: Assessing the Damage — Can This Tool Be Welded?
Before you start, take a close look at the tool.
Material Check: Make sure the tool is made of a weldable material like steel, iron, or aluminium.
Severity of Damage: If the tool is cracked, warped, or in multiple pieces, you’ll need to decide whether it’s worth welding or if it’s better to replace it.
Cost vs. Time: Sometimes, the cost and effort of welding may exceed simply buying a new tool. Assess if the repair is worth the investment. For example, a tool that is very inexpensive and easily available in the market, in this case, the best choice is to buy a new one.
Step 2: Preparing the Tool for Welding (Cleaning, Grinding, Aligning)
Clean the Area: Dirt, rust, and oil can contaminate the weld, weakening it. Use a wire brush, grinder, or sandpaper to clean the broken area thoroughly and wipe it with a clean cloth.
Grind Edges: If necessary, grind the edges of the broken parts to create a smooth surface for welding. A bevelled edge often makes for a stronger weld.
Align the Pieces: Clamp the broken pieces of the tool securely in place, making sure they align correctly. Any misalignment will lead to a weak or ineffective weld.
Step 3: Setting Up Your Welding Machine Correctly
Adjust the Machine Settings: Set the voltage, wire feed, and gas flow based on the thickness of the material and the type of weld you’re doing. Refer to your welding machine’s manual for specific settings.
Test the Settings: It’s always a good idea to test your machine settings on a scrap piece of the same material before you start welding the tool itself.
Step 4: The Actual Welding Process — Making Strong and Clean Welds
Start Welding: Begin welding along the break, moving steadily and evenly. For MIG welding, maintain a steady hand and ensure the wire feed is consistent. For TIG, you’ll need more control over the torch and filler rod.
Watch the Heat: Be cautious not to overheat the tool, especially if it’s small or made of thinner metal. Overheating can weaken the tool and lead to warping. if the tool has plastic or rubber parts like a handle or grip, we should not heat that area.
Multiple Passes: If the tool is thick or the break is severe, consider making multiple passes to build up a strong weld. Clean up any slag or debris between passes if using Arc welding.
Step 5: Finishing Touches (Grinding Excess Welds, Cooling Down)

Let It Cool: Allow the tool to cool naturally after welding. do not cool it Rapidly by quenching in water because it can cause the metal to become britale.
Grind the Welds: Once cooled, use a grinder to smooth out the welds. This not only improves the appearance but also ensures the tool functions as it should without rough edges getting in the way, if you don’t have a grinder you can also use a metal file instead of a grinder.
Inspect the Weld: Finally, inspect the weld for any gaps, cracks, or weak spots. A strong weld should be smooth and uniform, without any holes or visible weaknesses, if you find any holes or improper welding you can reweld those areas once more.
Can All Broken Tools Be Welded?
Not every broken tool can or should be welded. Whether welding is a good option depends on the material, the type of damage, and how the tool is used after the repair.
Material Matters
Steel and Iron: These are the easiest materials to weld, making most steel and iron tools good candidates for repair.
Aluminium: While weldable, aluminium is harder to work with and requires more skill.
Hardened or Tempered Steel: Tools made from hardened steel (like hammers, cutting, drilling tools, etc) may lose their strength after welding, making the repair less effective.
Non-Weldable Materials: Some materials, like certain alloys or plastics, can’t be welded effectively and may need to be replaced instead.
Type of Damage
Cracks and Breaks: Welding works well for clean breaks or cracks in the body of a tool, but it may not hold in high-stress areas like joints.
Worn-Out Tools: If a tool is worn thin or has been used heavily, welding may not be a good long-term fix.
if you still want to repair it, you can weld extra metal to improve the thickness of the thin or worn-out tool.
Severe Damage: For tools that are warped, corroded, or heavily damaged, welding might not restore full function, making replacement a better option.
Tools Under High Stress
Cutting Tools: Welded tools like saw blades or chisels may lose their sharpness or durability due to the heat.
Impact Tools: High-stress tools, such as wrenches or hammers, may break again after welding, as the repaired area could be weaker than the rest of the tool.
When to Repair vs. Replace
Cheap Tools: If the tool is inexpensive and easy to replace, welding is not worth the time or cost.
Specialty or Expensive Tools: For costly or custom tools, welding can be a good option if replacement is too expensive or difficult.
Also, some special tools may have their own history. In that case, you can weld them and preserve their story.
Common Mistakes to Avoid When Welding Tools
Welding can seem straightforward once you get started, but there are common mistakes that can lead to weak welds or can cause damage to the tools.
Overheating the Tool and Causing Further Damage
Mistake: Applying too much heat can warp or even melt the tool, especially if it’s small or made from thinner metal.
Solution: Control the temperature by using the correct settings on your welding machine. For smaller tools, reduce the heat and welding duration to prevent damage.
You can use a wet cloth to prevent heat from spreading to unwanted parts of the tool.
Also, allow for cool-down periods between passes if the weld requires multiple layers.
Poor Alignment of the Tool’s Broken Parts
Mistake: If the broken pieces aren’t properly aligned, the weld will not be as strong, and the tool may not function correctly afterwards.
Solution: Use clamps to secure the parts and ensure perfect alignment before starting the weld. Even slight misalignment can weaken the weld or cause the tool to malfunction when in use.
Welding Too Fast or Too Slow
Mistake: Moving the welding torch too quickly can cause incomplete welds while moving too slowly can lead to overheating or a bulky weld that’s difficult to clean up.
Solution: Practice steady, even movements. For beginners, it’s helpful to start on a scrap piece of metal to get a feel for the correct speed. Watching experienced welders can also help you get the right pacing.
Not Testing the Welding Machine Settings Before Starting
Mistake: Jumping straight into welding without testing your machine’s settings can result in a bad weld. Incorrect voltage or wire speed can cause weak bonds or excessive spatter.
Solution: Always test your settings on a scrap piece of the same material before starting on the actual tool. Adjust as needed to achieve a smooth, consistent weld.
What Are the Costs of Welding a Broken Tool Yourself?
1) Equipment Costs:
Welding Machine: Prices range from $200 to $800 for a beginner-friendly MIG or TIG welder.
Protective Gear: Essentials like a welding helmet, gloves, and jacket can cost between $50 and $150.
Clamps and Grinders: These are needed to secure the tool and smooth the welds, costing around $20 to $100.
2) Welding Materials:
Filler Rods or Wire: Costs between $10 and $50 depending on the type of material.
Gas (for MIG/TIG Welding): A gas cylinder, usually argon or CO2, costs $30 to $60 for a refill.
Frequently Asked Questions:
1] What’s the best welding method for repairing tools?
MIG welding is often recommended for beginners as it’s easier to learn, while TIG welding provides more precision for delicate work. Stick welding is another option but may not provide the same level of control for smaller tool repairs.
2] Can I weld tools made from aluminium?
Yes, aluminium tools can be welded, but the process is more difficult than welding steel. You’ll need a TIG welder and a good understanding of how to control the heat to avoid damaging the tool.
3] Is it cheaper to weld a tool myself rather than replace it?
In the long run, welding can save you money, especially if you already own the necessary equipment. However, if you only have one or two small repairs, the upfront cost of welding equipment might outweigh the savings.
4] What kind of tools can’t be welded?
Tools made from certain alloys or hardened steel may lose strength after welding, making them unsuitable for repair. Tools subjected to high stress or precise measurements, like drill bits or saw blades, may not hold up after welding.
5) How can I tell if my tool is worth welding?
If the tool is made of weldable material (like steel or iron) and the damage is minor (e.g., a clean break), welding is likely worth it. However, for severely damaged or inexpensive tools, replacement might be a better option.
6] Can I use a standard home power outlet for welding?
Some small welding machines can run on a standard 120V home outlet, but more powerful machines may require a 220V outlet. Check the specifications of your welder to ensure it’s compatible with your power supply.
Conclusion:
Welding a broken tool yourself can be a rewarding and cost-effective way to extend the life of your equipment. While there are risks involved, following the right safety standards and using the correct techniques can help you successfully fix many of your favourite tools.
Before you start, make sure you’ve got the right equipment and knowledge, and don’t hesitate to seek professional advice if needed.
So, the next time you find a broken tool in your workshop, don’t toss it out right away. With a bit of welding and grinding, you can restore it and get back to work quickly.

